Model Building
Follow these steps to success . . . begin with the end in mind!
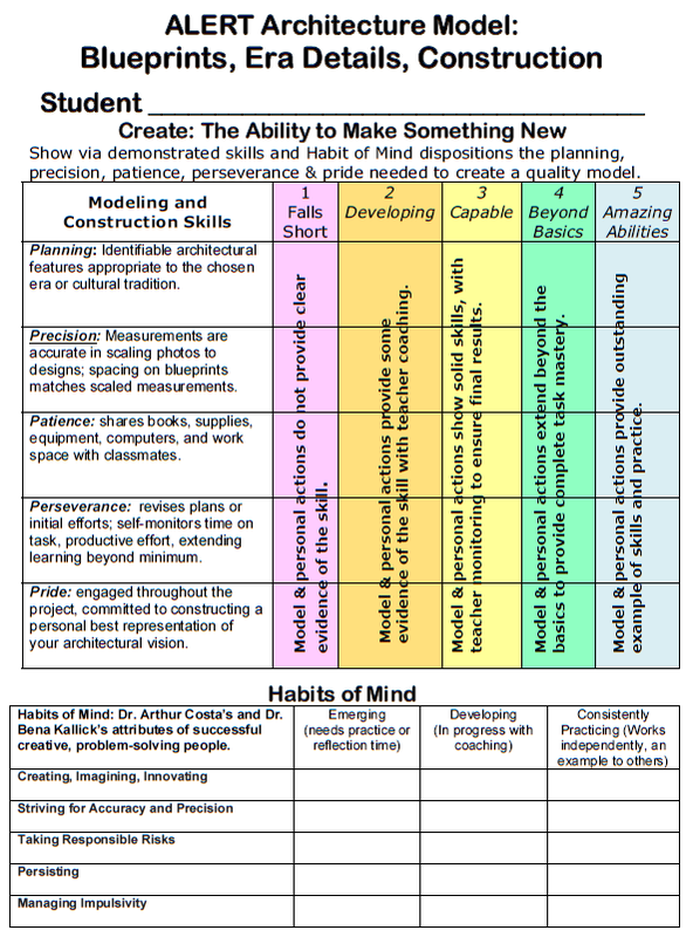
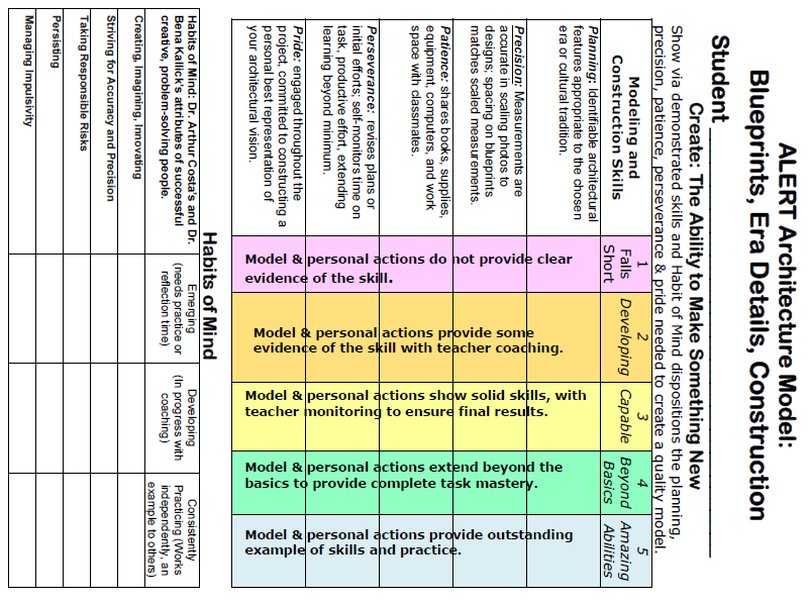
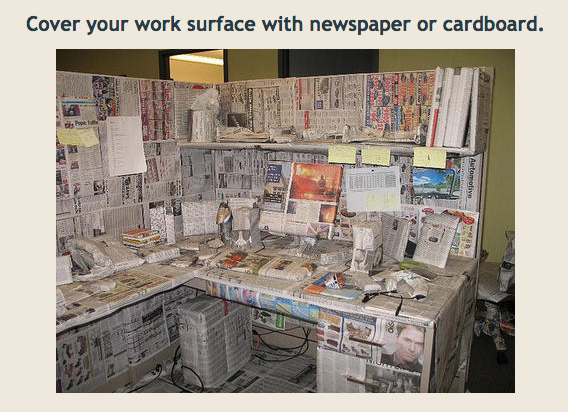
Review all the information about the expectations for the project.
Research your chosen architectural style. You will be expected to give a "Walk Down Main Street" or "Spirit of the Age" presentation as a final celebration of your success.
Find clear photographs or images of an example of the style. Use the images from the ALERT website or use Google tools to sort possibilities to find the largest, clearest photo you can get. Transfer it to graph paper as a blueprint.
| 2017-18_architecture_models.pdf |
Create an Architect's Portfolio:
- A detailed, labeled exterior sketch of your chosen architectural style. How will the structure look as people approach it? This is not the same goal as a blueprint.
- A written description of the style elements present in the model: Use the House Styles Checklist to help you organize research and answers. What is your rationale for including some shapes and style details and leaving others out?
- A clear list of estimated measurements of the original building (height, width, depth, peaks) and the model based on photos or other research evidence (e.g., 1:48 scale is 1 inch equals 4 feet (1 inch: 48 inches); a student design using the 1:48 scale for an elegant Georgian home will be very different from one using 1:1200 scale for a modern skyscraper!
- Confer with your ALERT teacher to discuss the measurements and the scale of the details that make your design style unique. We want the details on your model to stand out while making good use of the best materials and building methods; too small a scale and the details are lost or very fragile, while too large a scale can cause material shortages.
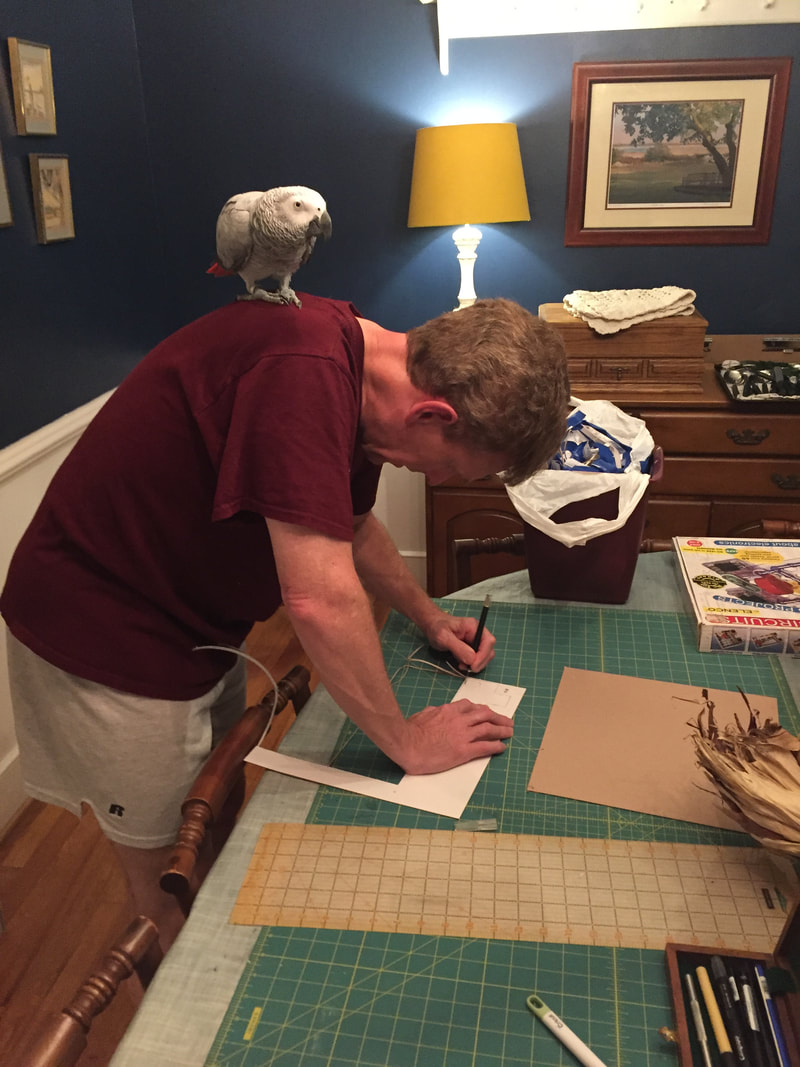
- Blueprint: A detailed proportional diagram with only the design elements that will be cut out outlined in sharp pencil with a straight edge. This will be transferred to foamboard or other model building materials, so precision is important. Draw like an architect!
- Review the blueprint with your construction foreman (ALERT teacher); if they do not understand what you want, they may cut exactly what you have drawn, creating extra work for you later.
- Transfer the blueprint details to the foam board using precision: secure the graph paper to the foam board with just enough tape, indicate outlines (edges) with pencil scoring (use a straight edge or guide!) and vertices (where angles change direction) with clear drafting.
- Putting it all together! Gather your foam board walls (saving cut-outs for further embellishments and details) and check the fit of the edges and vertices (corners and walls meet at same height) before adding textures or joining them together!
- Make any adjustments needed (cuts to even foam edges, overlapping surfaces).
- Add textures (brick, stone, wood, stucco, metal) while the walls are still two-dimensional; once you assemble the model, painting, taping, gluing, or adding clay elements will be more difficult.
|
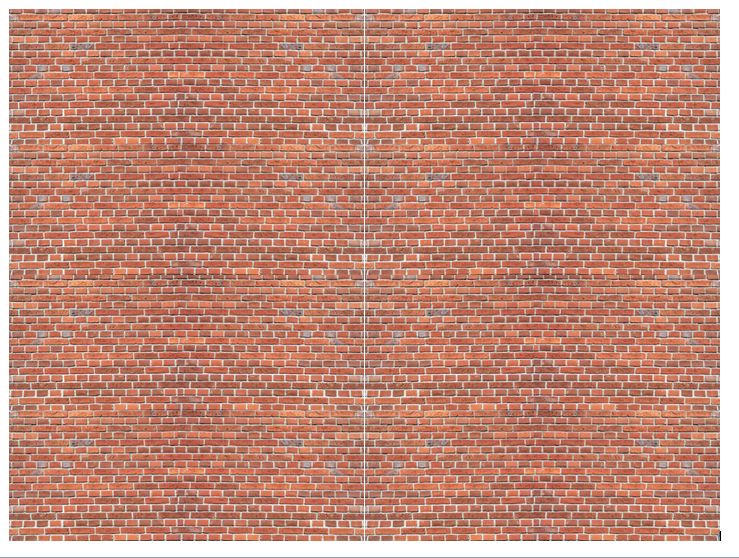
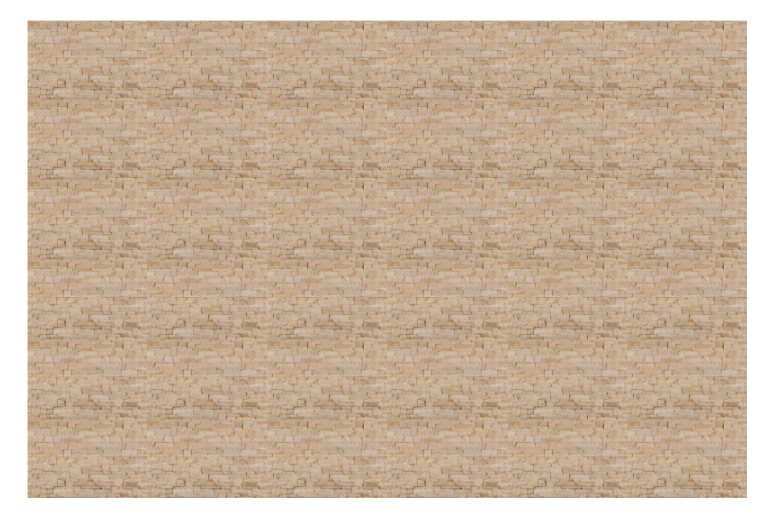
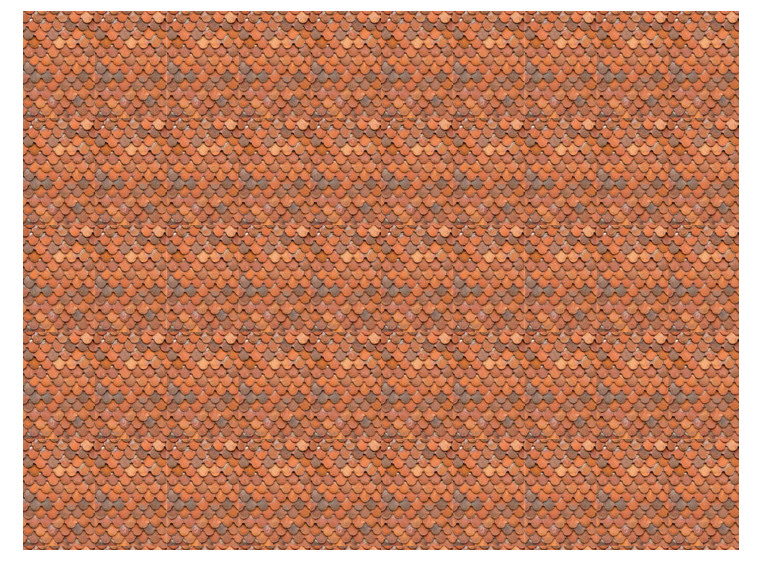
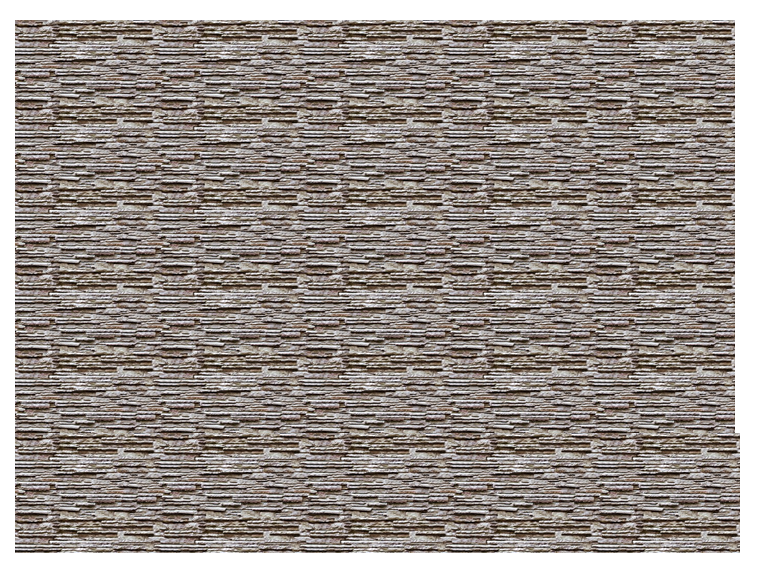
Textures: Some students draw brick after brick with precision and dedication; some draw a few bricks here and there to give an idea of the exterior surface; some plan ahead, search carefully for an image that can be modified in Google Drawing and printed on card stock to create the illusion of brick, stone, metal, or glass. While it seems printing out bricks would be easy, please be aware that it requires precision and attention to detail to ensure it comes out right. There are no shortcuts or easy paths. |

|
|
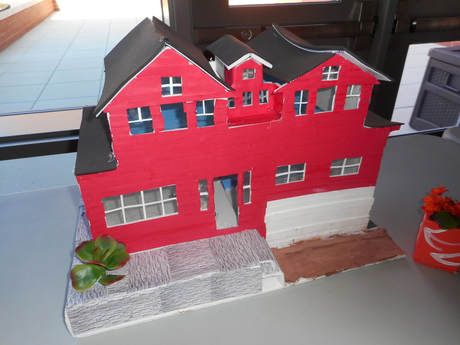
Painting: Intelligence is learning from experience; wisdom is learning from other people's experience. Two thin coats of paint, applied carefully over two weeks, is a better approach than one thick coat applied in a rush at project's end.
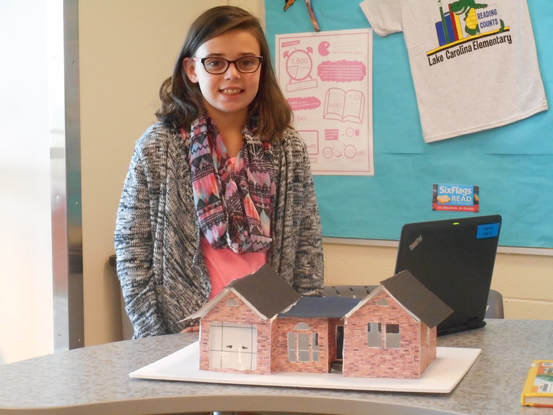
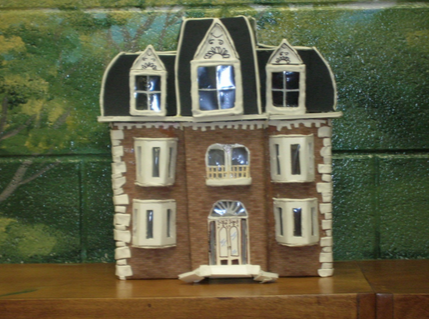
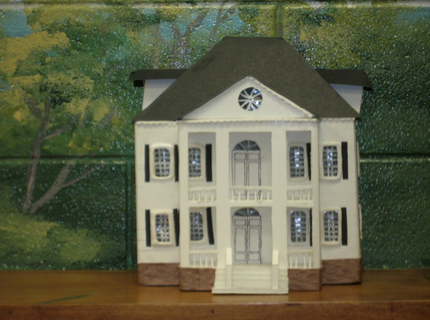
The model below is an interesting example of both approaches: the student carefully applied the red paint of the walls over three weeks (two thin coats and a touch-up day), so the foam did not curve or bend. Then, in the last week, the roof made of leftover foam has a single thick coat, giving it a swaybacked look on the right gable.
The model below is an interesting example of both approaches: the student carefully applied the red paint of the walls over three weeks (two thin coats and a touch-up day), so the foam did not curve or bend. Then, in the last week, the roof made of leftover foam has a single thick coat, giving it a swaybacked look on the right gable.
Tools of the trade:
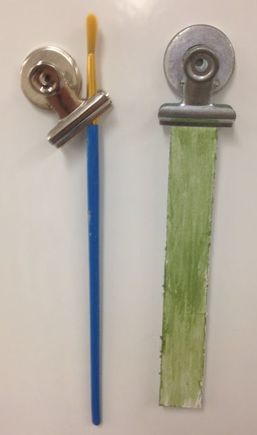
While brushes seem artistic and authentic, at this scale they often leave streaks from the hairs that make up the tip of the brush. You must also commit to cleaning them for the next student to use them.
|
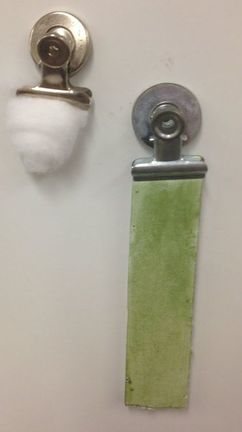
Cotton balls using a patting motion can create a stucco effect. Using a stroking or brushing motion may leave behind stray fuzz or wisps of fiber on the painted surface.
|
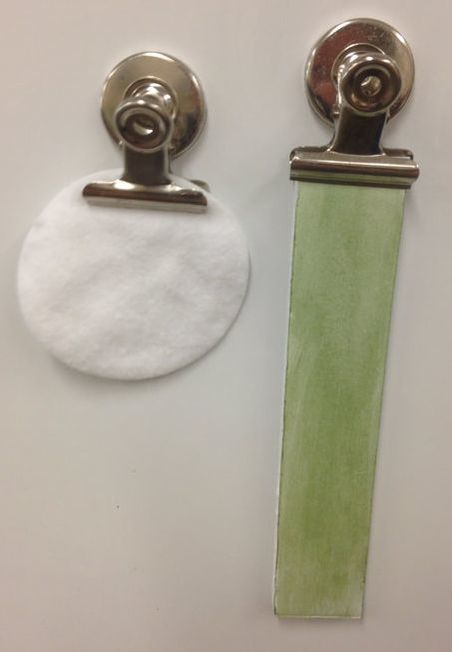
Cotton rounds can create a very even effect.
|

|
True Colors: A well-executed model requires planning and patience. The teachers need to be mindful of expense, so we will not have all the colors of the wind, I mean, rainbow, at our fingertips. We make periodic trips to the craft store, so if you communicate what you need for the next week we can have it for you the next week. The color chart linked to the left shows the variety of colors available.
Please note: we do not encourage mixing colors for large surfaces (an entire house) because the color will be difficult to recreate week-to-week. |
- Add windows and exterior details appropriate to the architectural style or era.
- Work from the interior or inside surface of the model.
- Use precision and just enough tape or glue at the edges.
This Paladian window detail was drawn with marker on lamination film, then taped with transparent tape. Transparent tape does not show as much if it overlaps the window, but once it is in contact with the foam it will tear the foam if you need to adjust it.
|
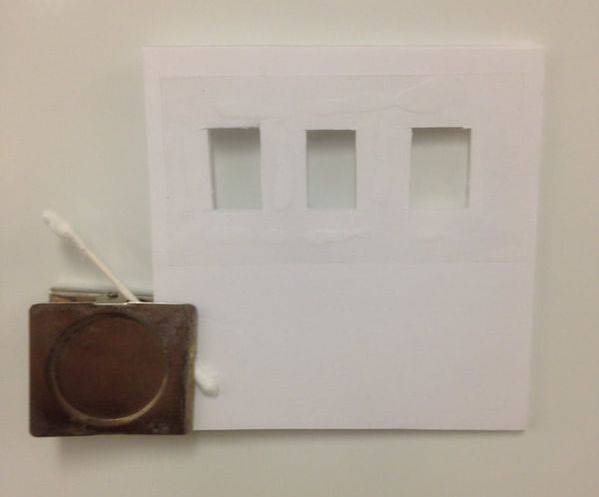
Several small windows can be installed with a long strip of laminate. Glue applied with a cotton swab will help ensure no bubbles or puddles of glue spread to obscure your window.
|
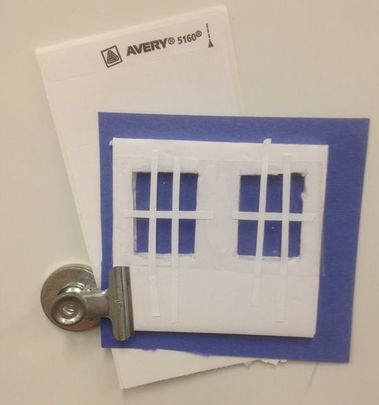
Mailing, file folder, or name tag labels can serve as muntins and mullions. If you want them to be a color other than white, you need to begin with the end in mind and color the label before you cut it. You will also need to think through placing the label on the acetate or plastic film facing outwards toward the exterior of your home before you tape or glue the window in place.
|
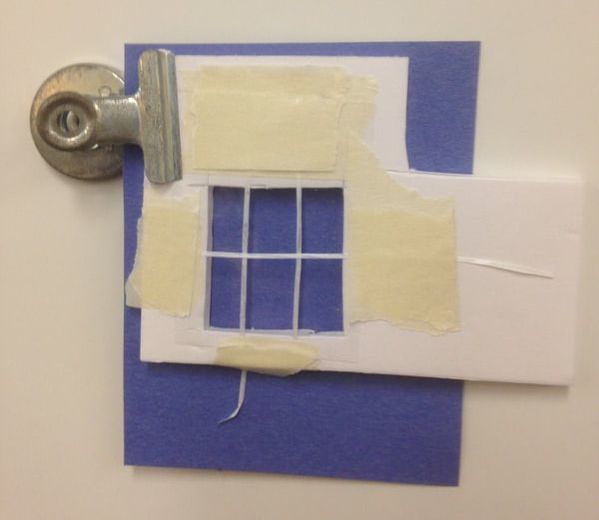
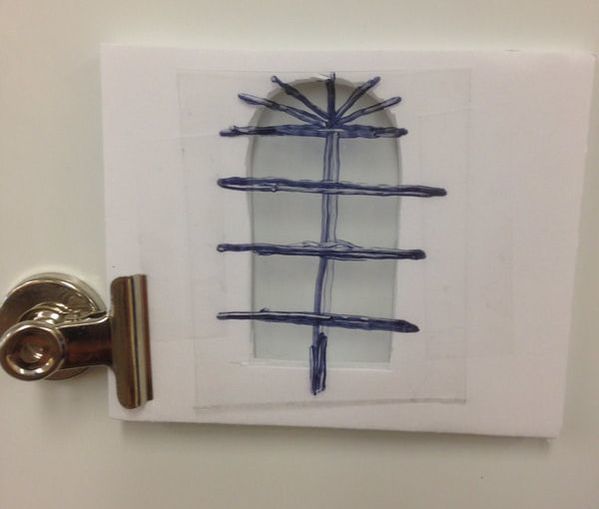
For those who appreciate detail and can work with precision, dental floss can create small-scale muntins and mullions for period houses that used several lights or small panes. Masking tape gives enough flexibility to make small changes or adjustments to the floss.
|
- Complete the roof using light or corrugated cardboard, fabric, or card stock, not with foam board due to expense (unless your model was very small and used fewer resources) with color and texture in harmony with the overall design.
- Wire a lighting circuit.
Embellishments and Details:
- Discuss optional features and agree to additions to your portfolio that may appeal to your potential customers and presentation audience.
- computer-aided design
- interior sketches
- details gallery
- collection of definitions and examples
- collections of photos/images
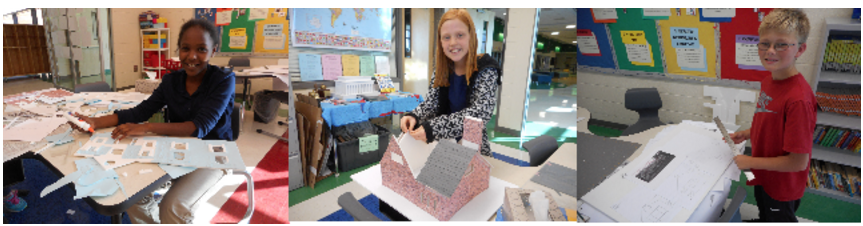
The magic of a model made real:

|
Building models is a skill. It requires--
|
Planning Before Action
- Know how much time you have to work today.
- Decide which portion of your model you can build in that time.
- Mentally think through each step of the job before you actually cut any materials; what will you need?
Thoughtful use of tools and work space
- Gather all materials and tools before you begin. This will save you time and energy and decrease interruptions.
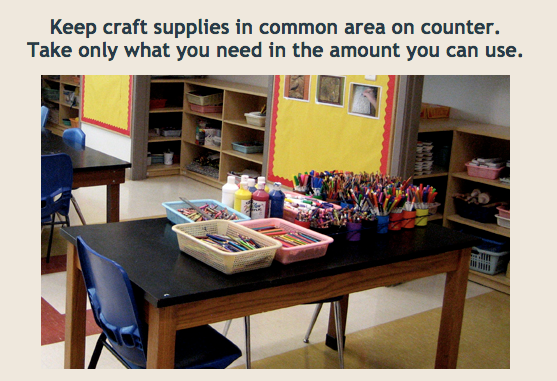
- Keep only the tools and materials you need. This frees up your work area and decreases the need for classmates to look through your materials.
- Keep pathways clear between the tools counter, the focus group circle, and the classroom exit. This helps you stay focused because classmates will not be brushing by your work space or interrupting you to ask you to move your belongings. This boosts your energy level, goodwill, and progress, and reduces frustration, anxiety, and tension.
- Light it up! Model building strains the eyes by looking at such small detailed pieces. You need the best lighting we can provide, otherwise your eyes will get tired quickly and you will start making mistakes in measurement or construction.
Practices
- Templates: If you have any symmetry or repetitive elements in your model, you might make a template for it. This could look like using scrap material to help achieve consistent spacing; guides to accurately cut many pieces at the same length without measuring each one out; or guides for symmetrical angles or curves that will reoccur in different places in your design.
- Less is more when using glue and tape. Keep your portions small when using adhesives--you can always add more, but it is difficult to take excess glue or tape away cleanly without leaving a sticky patch or tearing foam board or paper.
- Wash your hands every 30 minutes. Everyone's hands produce oil and leave residue on materials--this is why fingerprinting works in criminal investigations. Washing and drying your hands each half hour will keep your model clean and neat.
Patience!

|
"Miracle Max" (actor Billy Crystal) from The Princess Bride, William Goldman, 1987
- Research! This experience will be much more enjoyable if you have confidence the model is the best you can possibly make. Make sure you have included recognizable details, clearly indicated, on your model.
- Measure with precision: attention to detail saves time, materials, and frustration. Use a ruler, freehander!
- Don't rush a miracle man; you'll get rotten miracles. There are portions of model-building that require adult involvement. If your teacher or an adult volunteer indicates by their body language that they are measuring, cutting, or discussing a model with another student, please give them every consideration.
|
|
|
|