Light it Up!
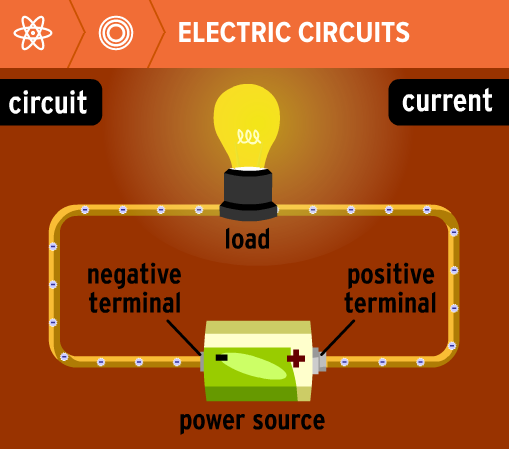
Electrical Circuits
|

|

|

|

|
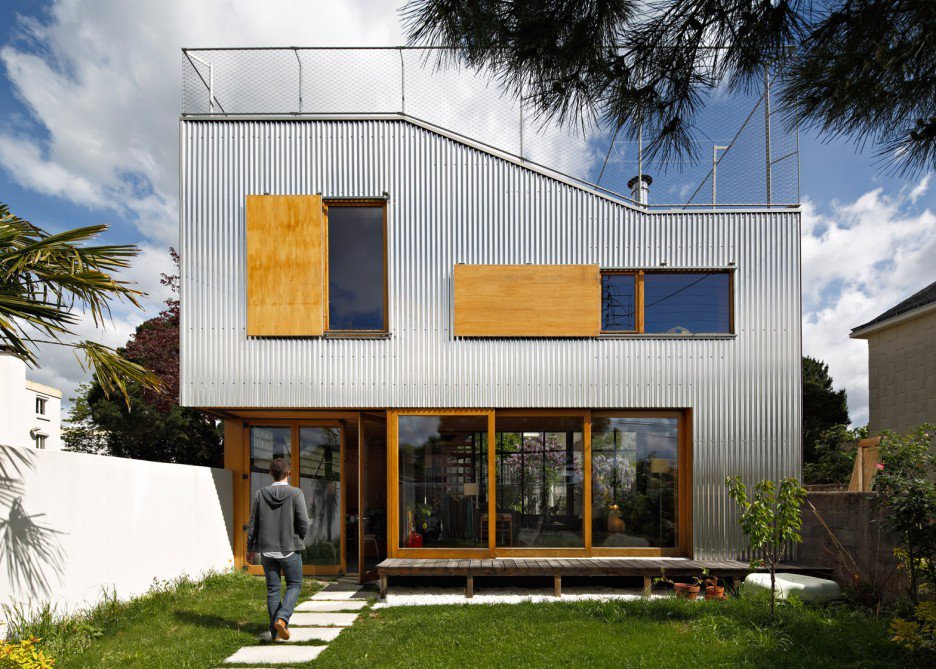
Tanzhaus, conversion of a 1908 electrical transformer station to a dance studio, Zurich, Switzerland
Important questions to consider during electrical lighting installation include:
- Do I want to be able to install the lighting circuit attached to the inside of the model with tape, glue or wire, OR do I want to create the circuit as a separate board to be installed in the model?
- Do I want to have the battery and switch separate from the model and attached by wires, or do I want the switch and battery attached to the model?
- Do I want to have the wiring available for later repairs and the battery available to be replaced?
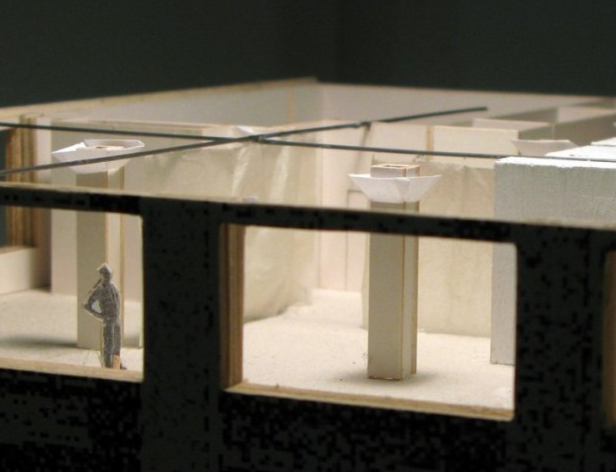
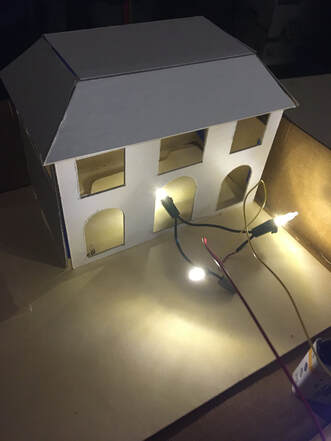
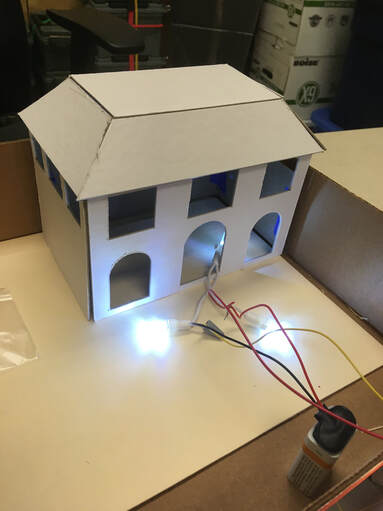
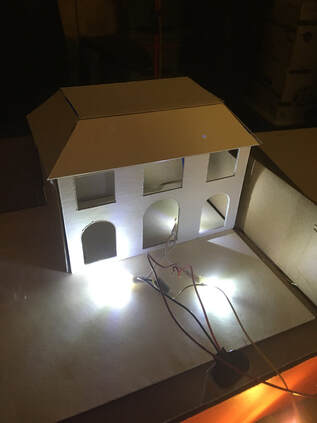
One of the details that make student architecture models come alive is the addition of an electrical circuit to power interior or exterior lights.
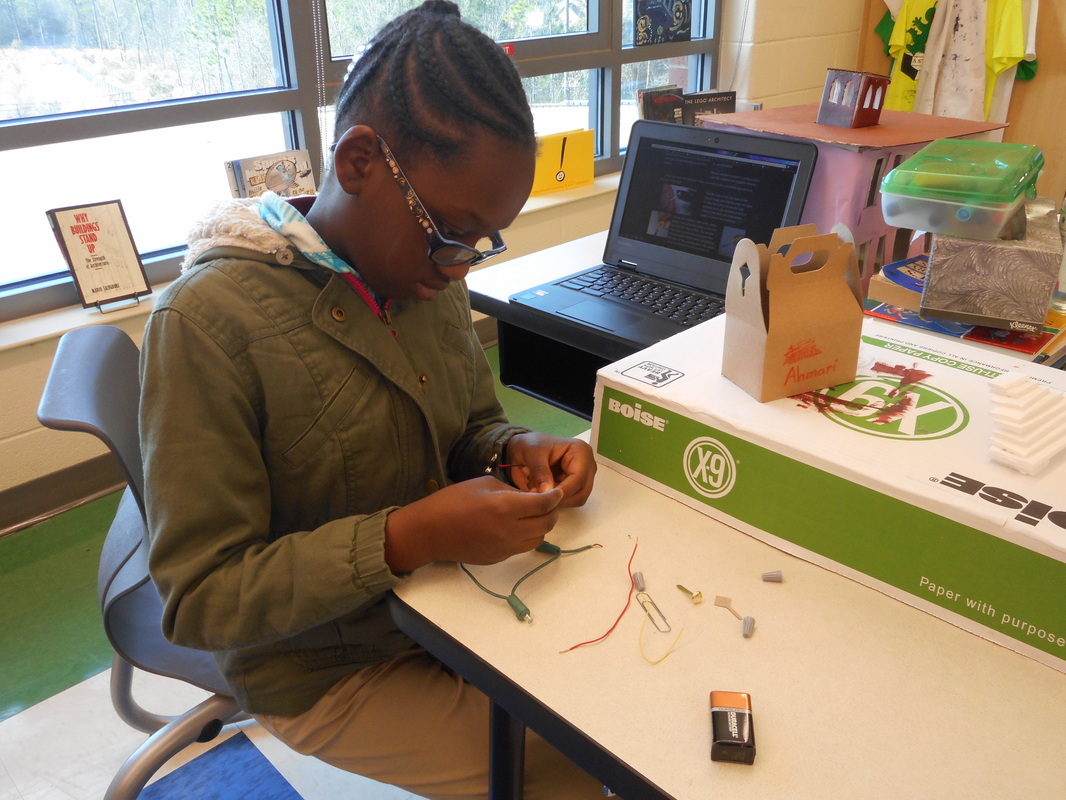
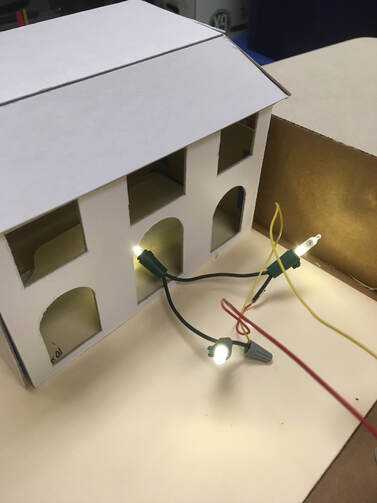
Students will use the power of one 9-volt battery, a battery connector, strings of 3 to 6 bulbs, small-gauge wire, wire clippers, twist connectors, and a circuit base of foam or cardboard to make a series or parallel circuit.
BrainPop |

|
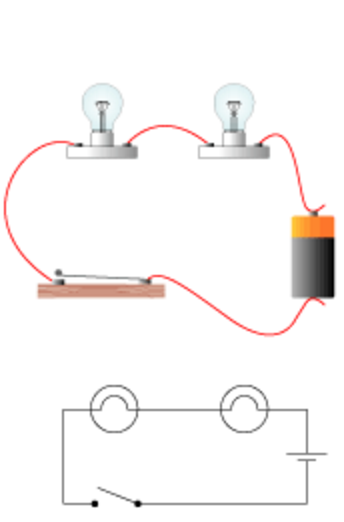
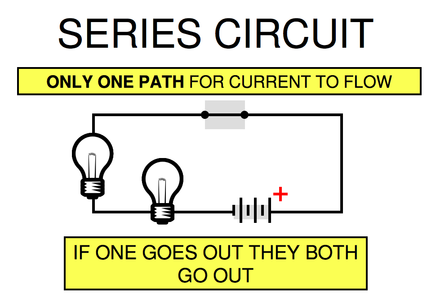
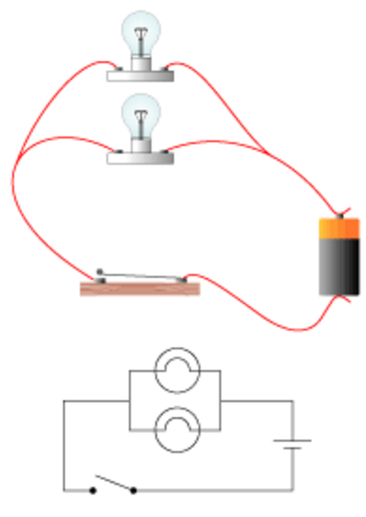
A series circuit places all of the elements of the circuit in a single chain or path. In a series circuit, there is a single pathway for the electrons to flow from beginning to end.
Advantages:
Disadvantages:
Fusebox: Series Circuit Lab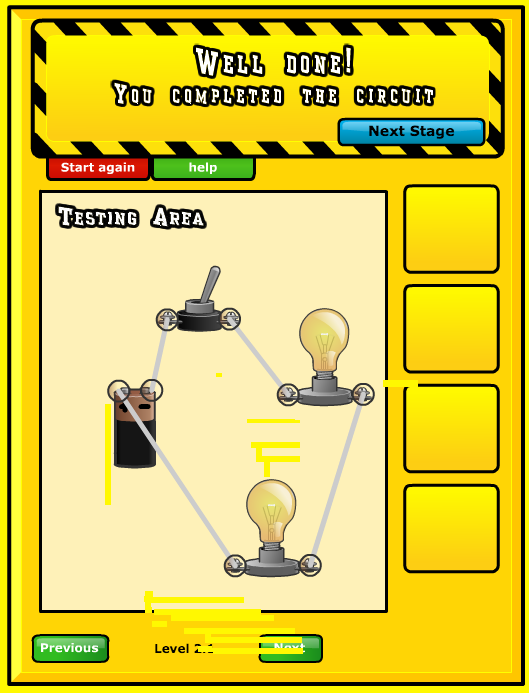
|
A parallel circuit places the elements in separate pathways. Each component has its own current pathway for electrons to flow.
Advantages:
Disadvantages:
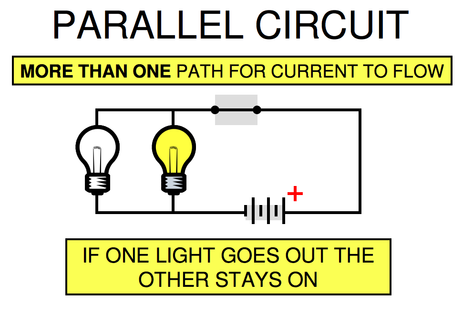
Fusebox: Parallel Circuit Lab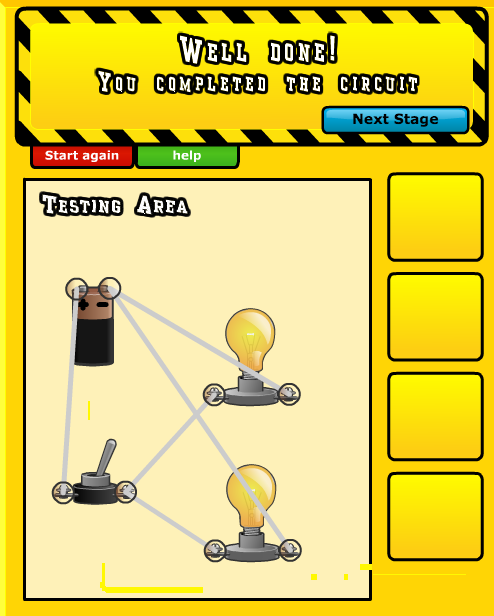
|
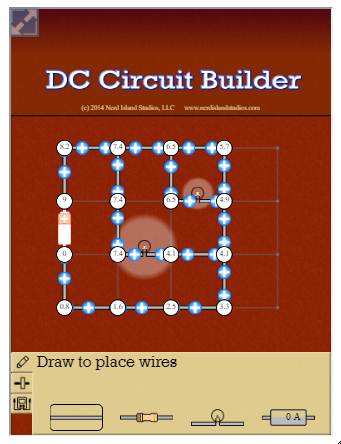
https://interactives.ck12.org/simulations/physics/dollhouse/app/index.html
Students may choose to use incandescent lights or Light Emitting Diodes (LEDs), which offer different qualities of light which may be more appropriate to the model's architectural era.
Incandescents: usually a yellow, softer light that better simulates firelight, candlelight, or gaslight.
|
LEDs: usually a whiter, sharper light that simulates modern or contemporary electrical light. May be tinted red (skyscraper safety lights) or other colors for special effects.
|
Once you have selected which bulbs, how many bulbs, and which type of circuit suits your model best:
|
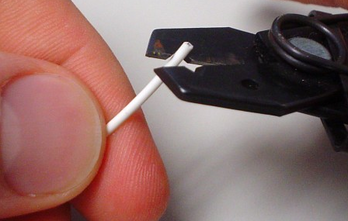
Take the time to trim your wires to the correct length and strip the ends. It is best to make all of your cuts at once and complete all of your stripping at once in order to make best use of the limited supply of tools in the classroom.
|
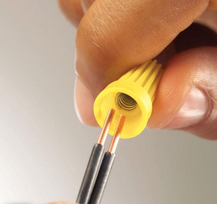
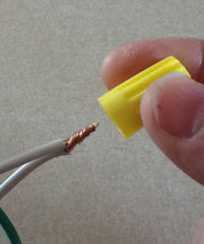
Arrange the elements (light bulbs, switch, battery, and connecting wires) in the order you want the circuit to flow. Use the wire nuts to ensure the connecting wires form strong braided contact points, insulated by the wire nut fully covering them. This avoids loose connections and the possibility of short circuits.
|
|
|
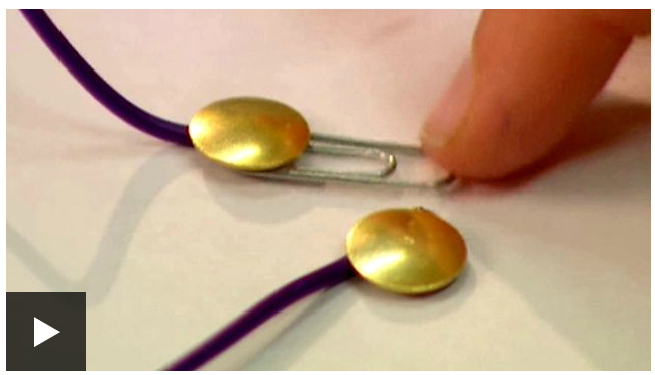
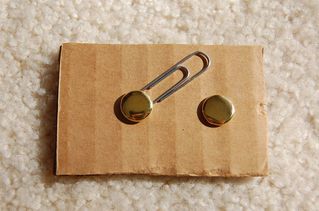
Over time, most students have indicated they prefer the ease and simplicity of the brad and paper clip switch. You may also experiment with aluminum foil switches or clothespin switches.
|
|
Connect the battery cap last; if you have the battery connected first and close the circuit with only one or two bulbs connected the battery may burn out the element in the single bulb. Circuits of three to six bulbs provide the best balance of light spread throughout your model and the intensity of the individual bulbs.
Take care to be thoughtful where you place the battery and the switch in your circuit plan; you want to be able to access the switch and and eventually change the battery for your model without having to dismantle the house! |
If your circuit does not work the first time, be patient and persevere in checking each connection and component. Often a single loose connection is all that keeps you from success. We will have a variety of components, wires, and batteries to use to test and repair your circuit. This is intended to be "hard fun," not cause frustration, anxiety, or tension. Light it up!
Step by Step Circuit
by Ms. Sheri Barfield
Introduction |
Step 6 |
Step 2Step 3Step 4Step 5 |
Step 7Step 8Step 9Step 10 |
